Installation and Requirements
System Requirements
The following requirements must be met to use the ArcNLET-Py for ArcGIS Pro:
A Microsoft Windows 10 or 11 Home, Pro, or Enterprise, or Windows Server 2016, 2019, or 2022 Standard Datacenter (64-bit) that meets the minimum requirements for ArcGIS Pro 3.2.0
Active ArcGIS Pro License
SA (Spatial Analyst) extension for ArcGIS Pro
Microsoft .NET Desktop Runtime 6.0.5 or a later patch release (6.0.6) is required using a Windows x64 installer. The presence of Microsoft .NET Desktop Runtime 7 or later is inconsequential.
These are the exact requirements of running ArcGIS Pro. In other words, ArcNLET-Py can be installed on a computer running ArcGIS Pro without difficulty. It is recommended to have a computer with:
A central processing unit (CPU) with 4 cores and simultaneous multithreading
32 GB of free solid-state storage space
32 GB of memory/random access memory (RAM)
ArcNLET functions with the minimum memory requirement for ArcGIS Pro, which is 8 GB of RAM.
The ArcNLET-Py needs a number of Python scripts and other files to function. These files and folders are stored in your ArcGIS Pro Project Folder or other local machine location as determined by you. Using a network drive or network location such as OneDrive, Dropbox, or Google Drive with ArcGIS Pro is not recommended because of schema locks, file deletion, and file update errors that ArcGIS Pro can occur on your local machine but not on a network location. Storing your project in these network locations mentioned above can cause unwarranted and intermittent errors when running the ArcNLET-Py modules.
Install ArcGIS Pro
To begin, you must have an ArcGIS Pro license and complete the ArcGIS Pro software suite installation on your local or network computer. If you do not have ArcGIS Pro, please follow Esri’s instructions at the following link: https://pro.arcgis.com/en/pro-app/latest/get-started/install-and-sign-in-to-arcgis-pro.htm
ArcGIS Pro Project File
For running ArcNLET-Py, you need a new ArcGIS Pro Project File in a folder directory on your local computer. If you are unfamiliar with creating an ArcGIS Pro Project File, please see the Esri tutorial: https://pro.arcgis.com/en/pro-app/latest/get-started/create-a-project.htm.
To create a new Project File, start ArcGIS Pro.
Click [Map] (Figure 6‑1).
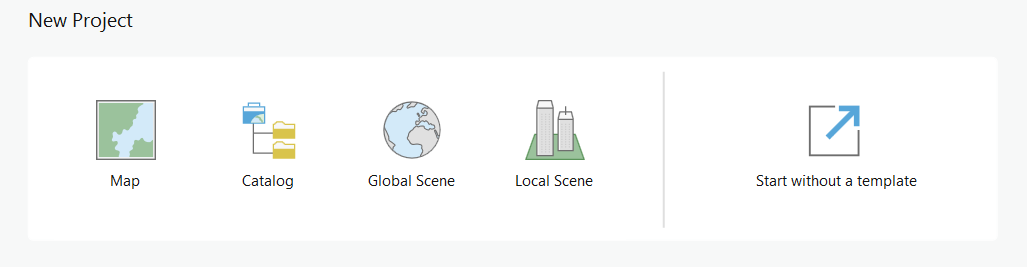
Figure 6‑1: ArcGIS Pro – New Project selection.
In the [Create a New Project] (Figure 6‑2) dialog box, name your Project File, such as [ArcNLET_YYYY_MM_DD], and set the [Location] to a new folder on your local or network computer for which you have read and write access.
Ensure the box is NOT checked for [Create a new folder for this project], then click [OK].
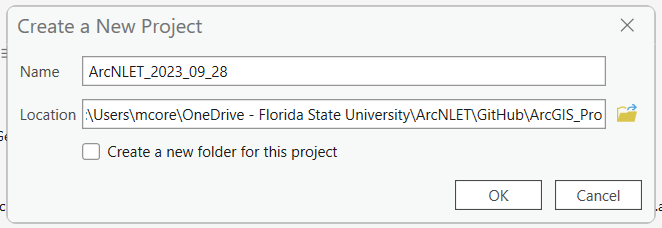
Figure 6‑2: The ArcGIS Pro Create a New Project dialog box.
Go to your newly created file folder directory (Figure 6‑3) to see the ArcGIS Pro Project File.
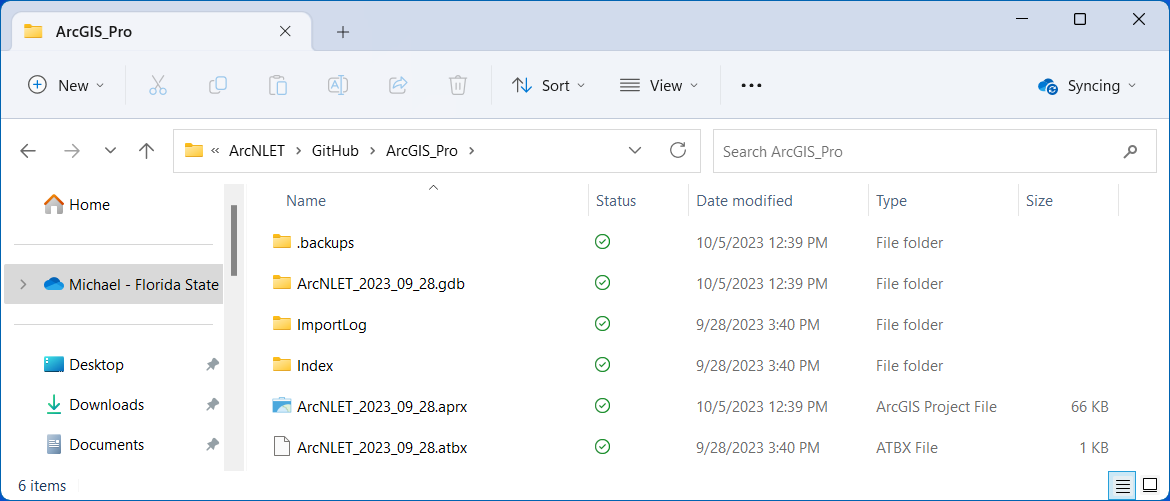
Figure 6‑3: ArcGIS Pro in the Windows File Explorer.
ArcNLET-Py from GitHub
GitHub is a web-based platform allowing users to collaborate on projects involving code or text-based files. It is built on Git, a version control system that keeps track of changes and versions, making it easier to work with multiple people simultaneously. GitHub also supports Markdown, a lightweight markup language that enables users to create rich text documents, such as documentation, manuals, or websites. Moreover, GitHub offers practical tools for project management, such as issue tracking, project boards, and action automation. GitHub is widely used for software development and open-source projects, but it can also benefit non-developers who wish to contribute or access the latest versions of the projects (GitHub, Inc. 2023). Examples of successful GitHub stories are QGIS, an open-source GIS, and FloPy, a Python library for working with MODFLOW-based models. GitHub helps both developers and users of these projects by providing a platform for collaboration, contribution, and version control.
Open a web browser such as Chrome, Firefox, or Edge, and go to https://github.com/ArcNLET-Py/ArcNLET-Py.
Click the green [< > Code Button] shown in Figure 6‑4.

Figure 6‑4: The GitHub < > Code button.
Click [Download ZIP] in the local submenu, as seen below in Figure 6‑5.
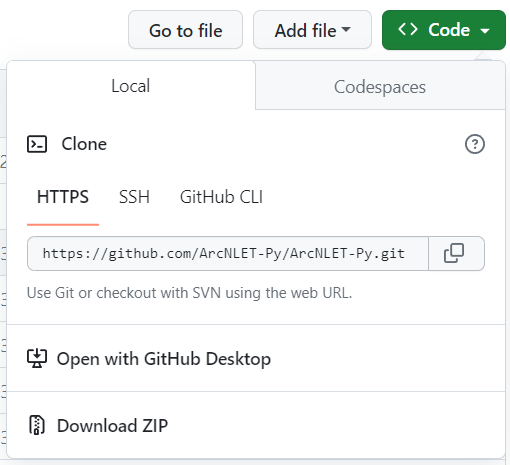
Figure 6‑5: The GitHub Download ZIP.
Download the zip file to your [Downloads] folder. When downloading the file, you should receive a notification (Figure 6‑6). If the download does not begin, then please check your pop-up blocker.
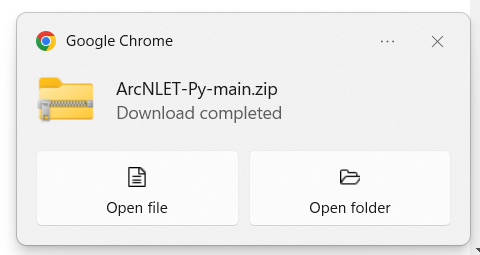
Figure 6‑6: The download notification for ArcNLET-Py-main.zip.
ArcNLET-Py Installation
Locate the zip file, [ArcNLET-Py-main.zip], in your [Download] folder and move (Copy and Paste) the file to the location on your computer where your current ArcGIS Pro Project File (Figure 6‑7) was saved in the Create an ArcGIS Pro Project File in the Section 3.3.
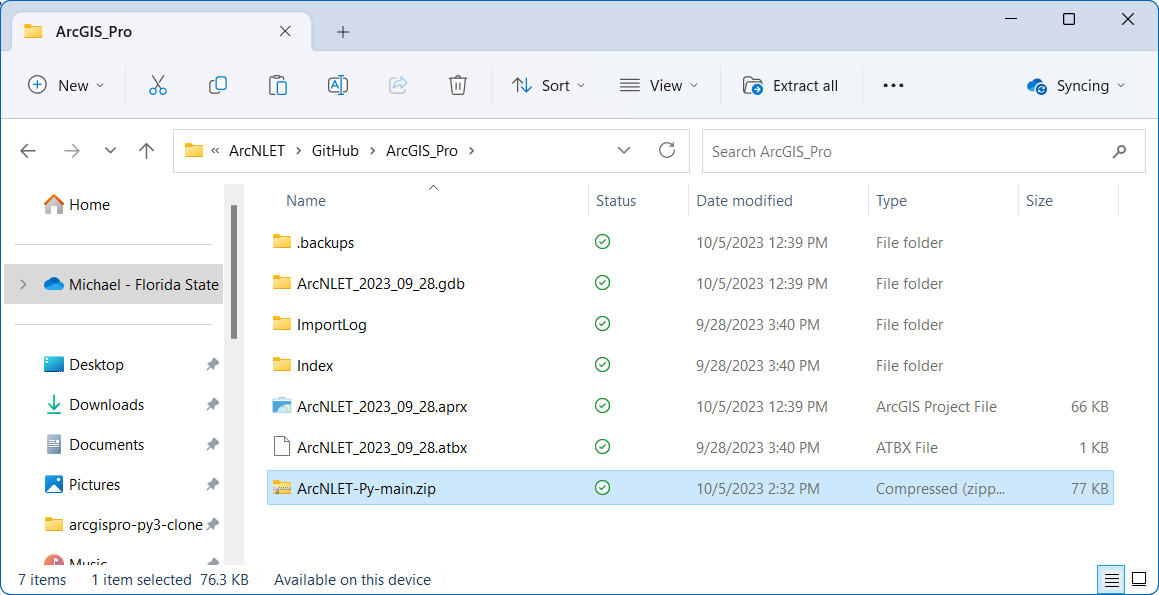
Figure 6‑7: ArcNLET-Py-main.zip in the Windows File Explorer.
Right-click the [ArcNLET-Py-main.zip] zip file and select [Extract All…] as seen in Figure 6‑8.

Figure 6‑8: The Extract All option in the right-click submenu.
Click [Extract] in the [Extract Compressed (Zipped) Folders] menu, as seen below in Figure 6‑9. This process extracts all the contents in the [ArcNLET-Py-main.zip] file to a folder called [ArcNLET-Py-main] in your current ArcGIS Pro Project folder.
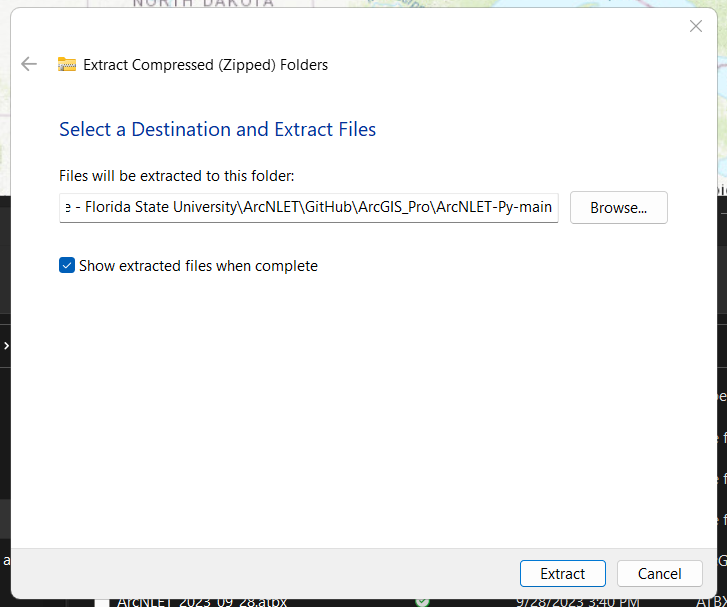
Figure 6‑9: The Extract Compressed (Zipped) Folders window for ArcNLET-Py-main.zip.
Run ArcNLET-Py in ArcGIS Pro
Open your ArcGIS Pro Project File by double-clicking the .aprx file in the folder directory. For this manual, the Project File is called [ArcNLET_2023_09_28.aprx] (Figure 6‑3).
Once your ArcGIS Pro Project File is open, navigate to the [Catalog Pane] or [Catalog View], click the expand arrow for [Folders], and you may notice there are two [ArcNLET-Py-main] folders (…\\ArcNLET-Py-main\ArcNLET-Py-main). The folder structure is due to how GitHub extracts the repository (Figure 6‑10).
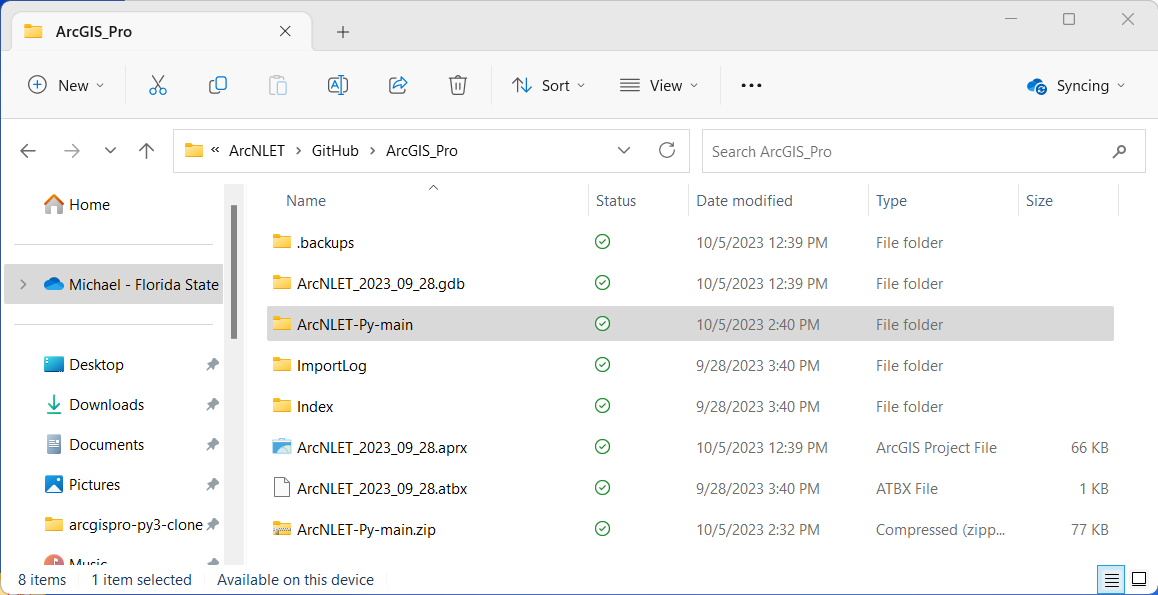
Figure 6‑10: The extracted ArcNLET-Py-main folder in the Windows File Explorer.
In ArcGIS Pro, in the second [ArcNLET-Py-main] folder, look for the [ArcNLET] folder that contains the [ArcNLET.pyt] ArcGIS Pro Python Toolbox. By clicking the expand arrow next to the toolbox, you can access the ArcNLET Toolset, which includes the following modules: 0-Preprocessing, 1-Groundwater Flow, 2-Particle Tracking, 3-VZMOD, 4-Transport, and 5-Load Estimation as shown in Figure 6‑11 and Figure 6‑12.
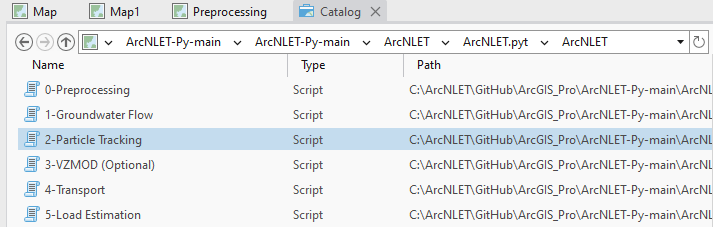
Figure 6‑11: The ArcNLET-Py Python Toolset in the Catalog View in ArcGIS Pro.
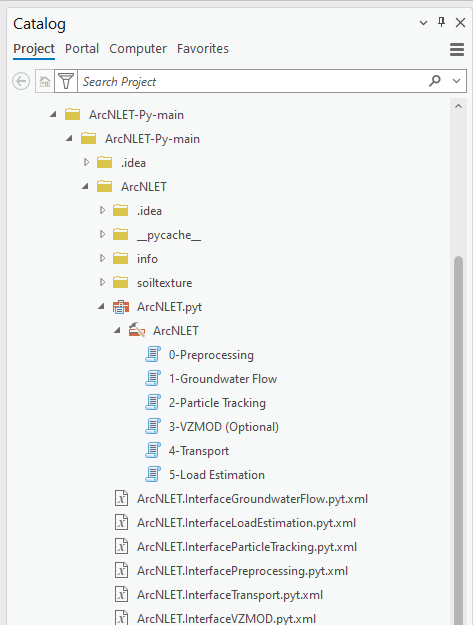
Figure 6‑12: The ArcNLET-Py Python Toolset in the Catalog Pane in ArcGIS Pro.
Take a moment to click each toolset or module to read the metadata. The [Metadata Pane] includes parameter information for the data sets needed for the Preprocessing Module (Figure 6‑13), Groundwater Flow Module (Figure 6‑14), Particle Tracking Module (Figure 6‑15), VZMOD Module (Figure 6‑16), transportation module (Figure 6‑17), and the Load Estimation Module (Figure 6‑18) in ArcNLET-Py.
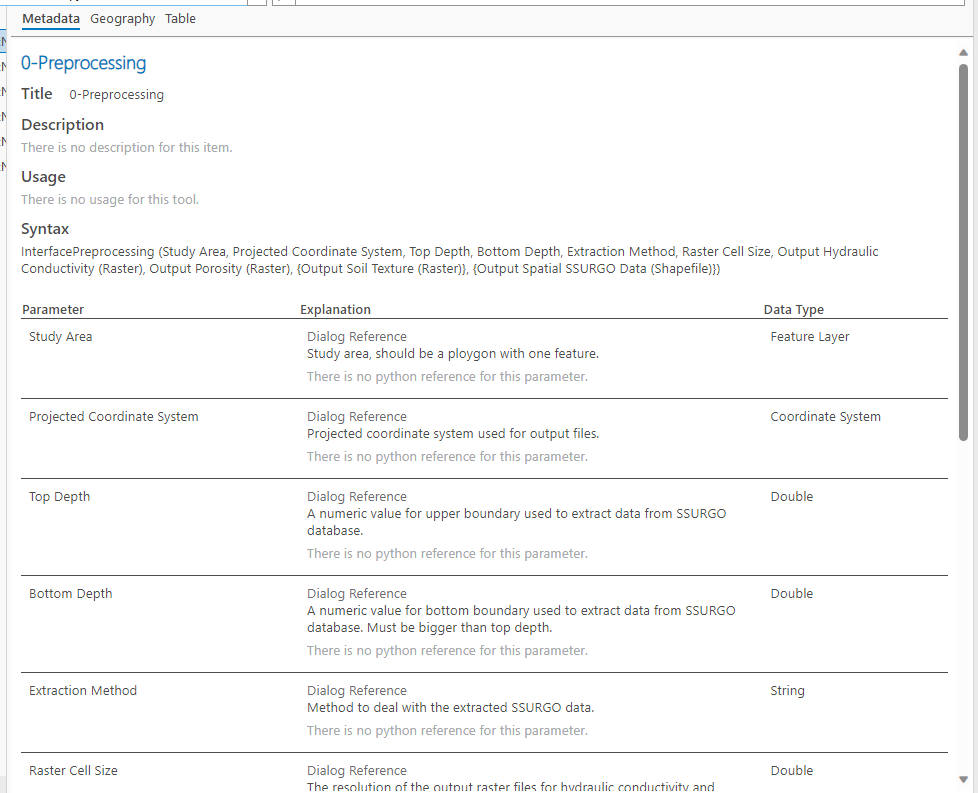
Figure 6‑13: The ArcNLET-Py Preprocessing Module Metadata Pane in ArcGIS Pro.
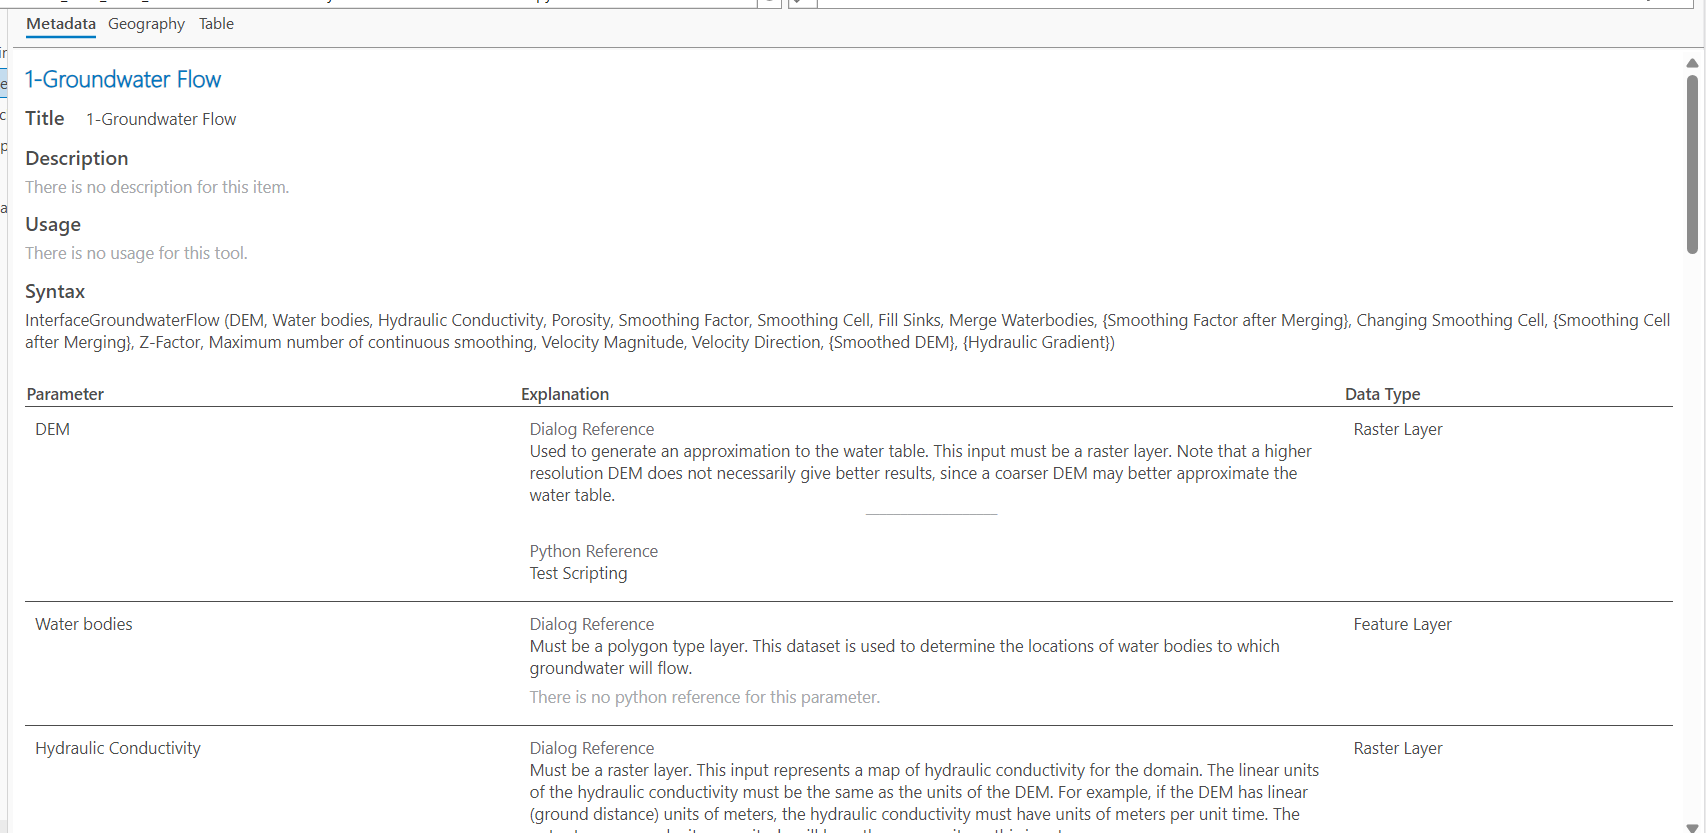
Figure 6‑14: The ArcNLET-Py Groundwater Flow Module Metadata Pane in ArcGIS Pro.
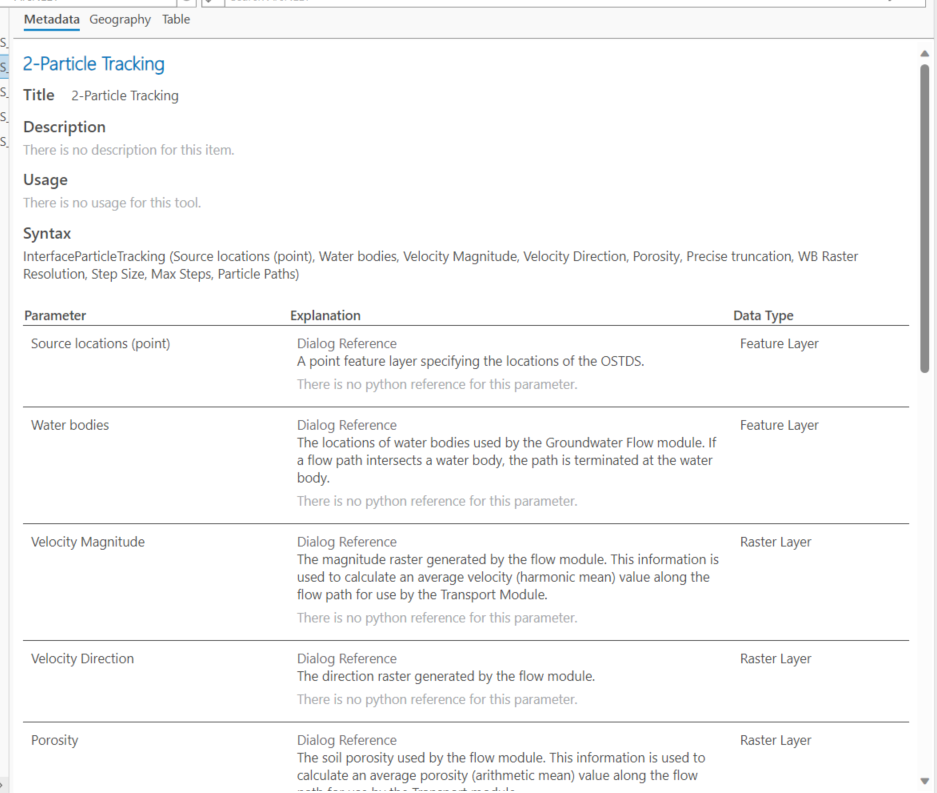
Figure 6‑15: The ArcNLET-Py Particle Tracking Module Metadata Pane in ArcGIS Pro.
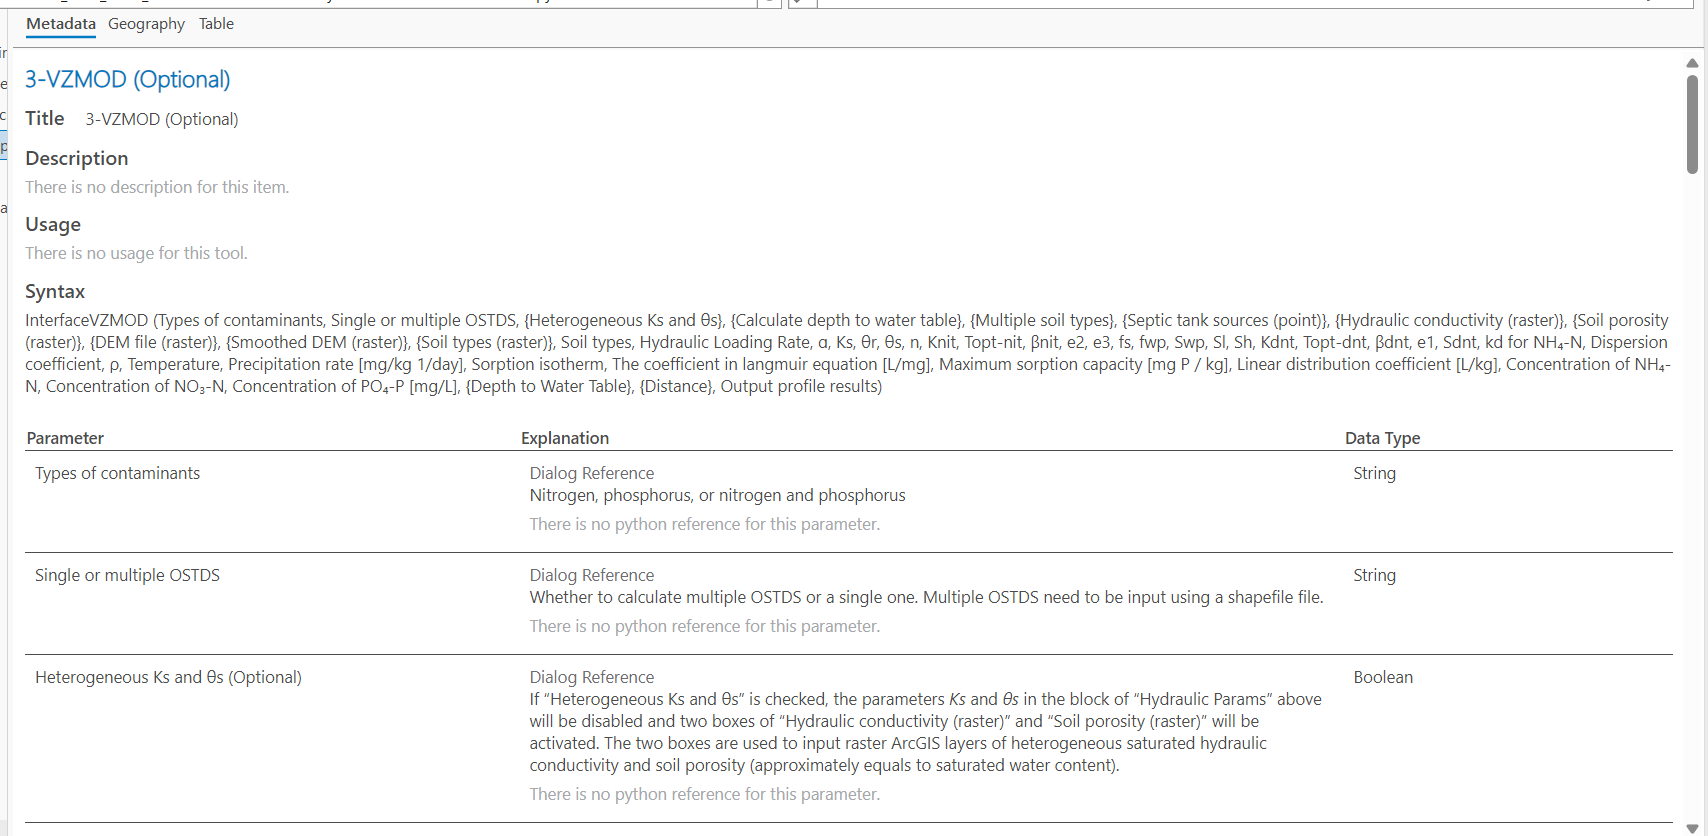
Figure 6‑16: The ArcNLET-Py VZMOD Module Metadata Pane in ArcGIS Pro.

Figure 6‑17: The ArcNLET-Py Transport Module Metadata Pane in ArcGIS Pro.
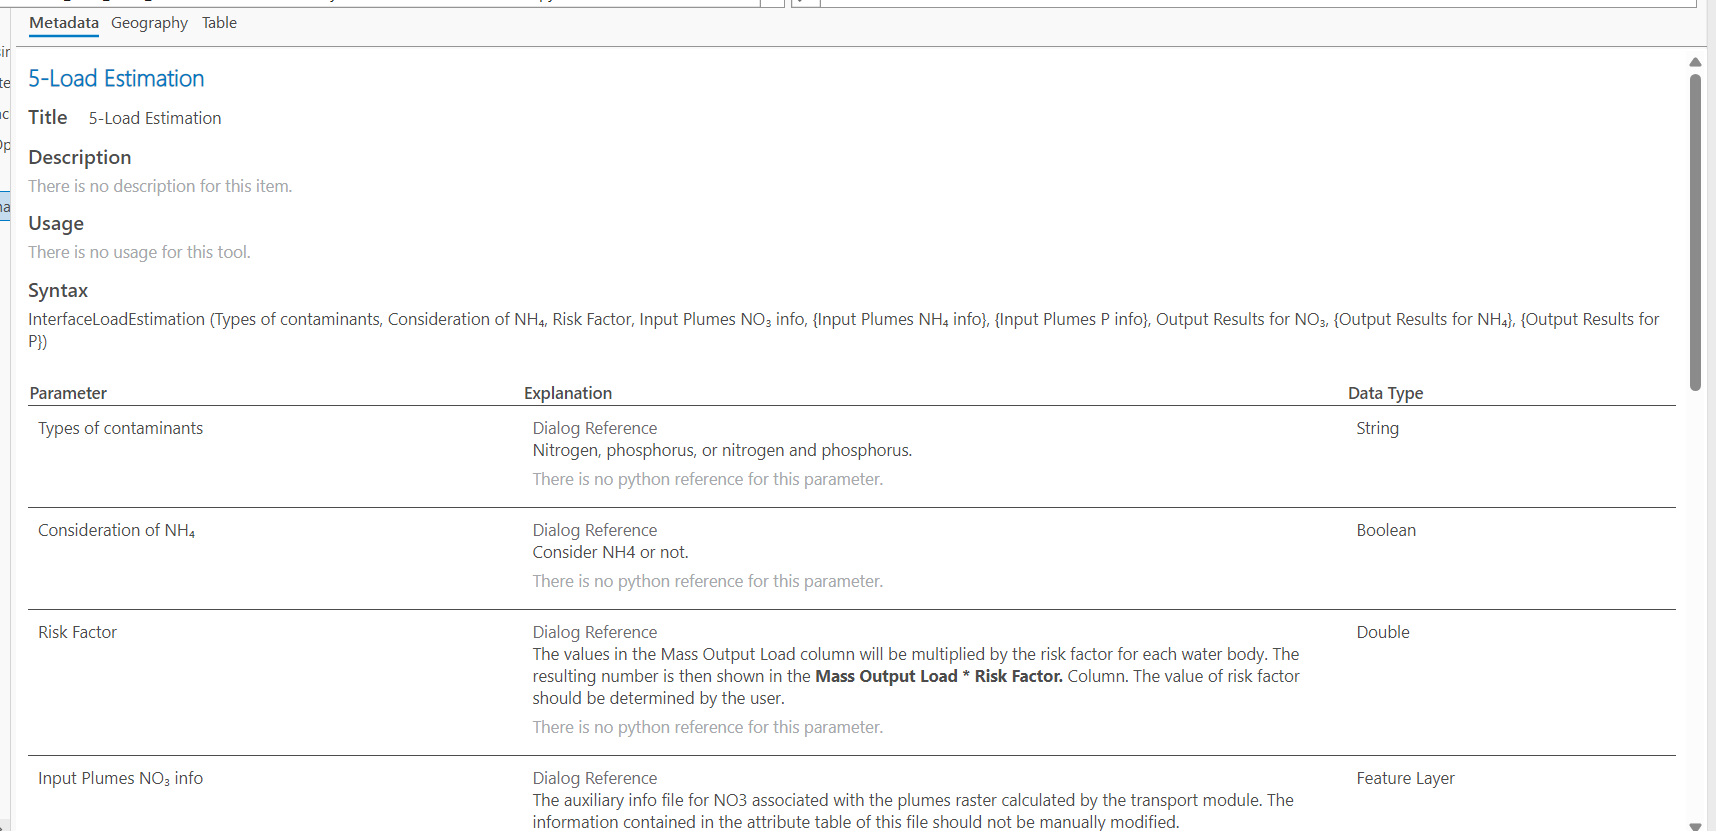
Figure 6‑18: The ArcNLET-Py Load Estimation Module Metadata Pane in ArcGIS Pro.